Anybody can take great food pics!
Most people don't have expensive cameras with detachable lenses, filters, reflectors, and light kits.
You don't need any of that stuff to take great photos.
With food photography booming as it is on the internet these days and cooking culture being so popular, we thought we'd share some tips to help the average shooter with an average camera take great food photos.
Here are ten steps that will improve your food pics.
All of the following examples were shot with a regular $200-or-less point-and-shoot camera on almost fully automatic settings with limited image optimization...
10. Shoot In White Light
Color is a defining characteristic in how we perceive food. Getting it wrong can make even the best meal look horrible. Digital cameras love fluorescent white light. It's usually not found in dining rooms. Look for it in kitchens. Be aware of any shadows you cast on your subject and keep them out of the shot. Leave your camera set to auto (turn off its flash though), and let its manufactured brain do its job. Given a clean white light source most cameras will return a true to life color image.
9. Be A Flasher
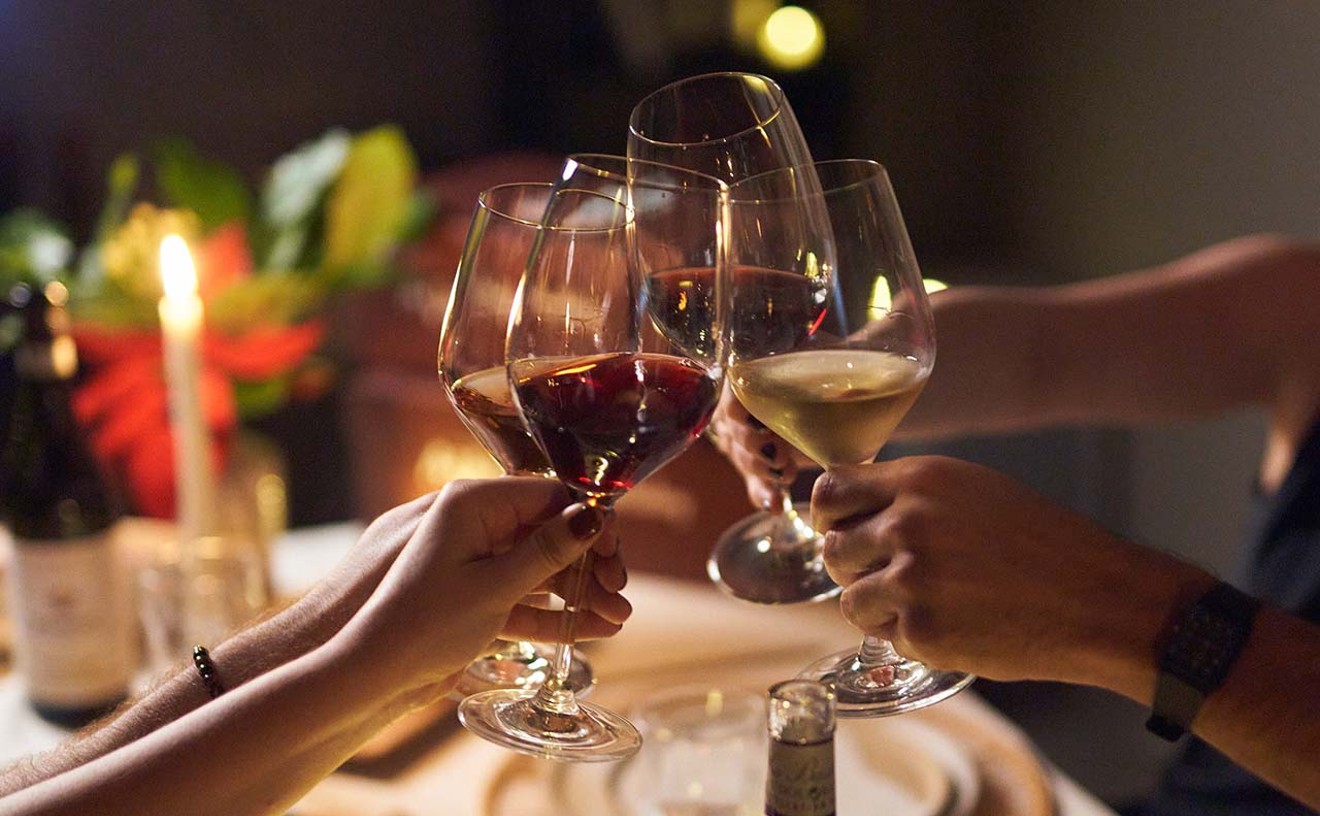
If the room is dark and mood-lit like most restaurants are at dinner you will want to use your camera's flash. A lot of people say not to shoot food with flash but they're wrong. It has a signature look of superexposed whites, but it looks cool and the colors have a better chance of coming out right. It is good to back up about 6 to 8 inches from your subject as the closer you get, the greater the overexposure. Also consider the reflective nature of most plates and that they can negatively impact an image if the light you shoot at them bounces directly back into the lens. Angle accordingly.
8. Focus, Focus, Focus
Set your camera to automatic focus. Manual focus on most regular digital cameras sucks anyways and isn't a great feature. But you still have to know how to use the auto focus. Before you take your picture, press half way down on the shutter button, that's the button you take the picture with. On most cameras a green box or boxes will appear around the points of focus. This is called "locking focus." Once you have locked focus and are satisfied with composition press the shutter the rest of the way down. Many blurry pictures can be avoided by this simple action. So, lock focus, keep your hand steady, shoot the picture, and don't begin moving your hand before you finish snapping the picture.
7. Macro Is Cool
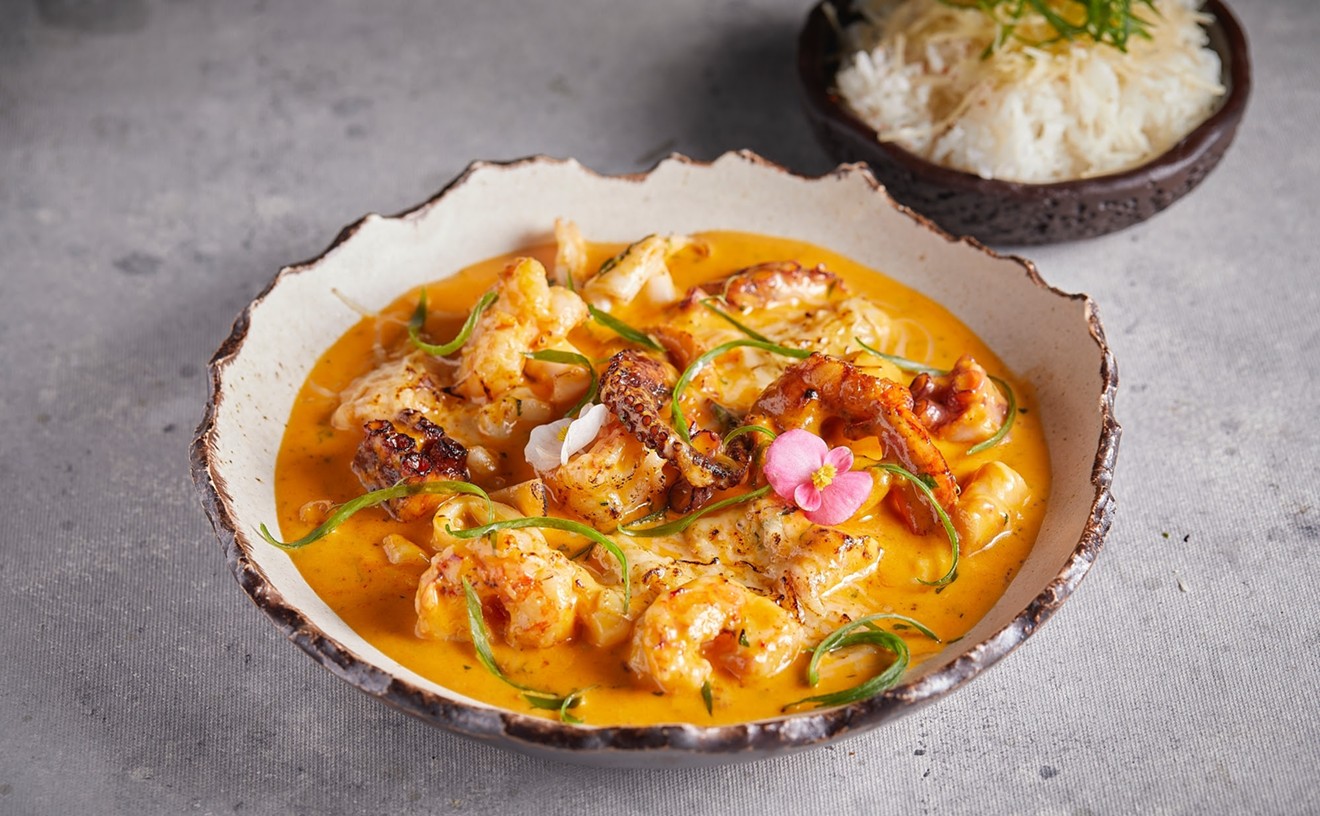
Food looks cool up close. Macro is a function by which you can get closer than normal to your subject and still be able to lock focus. Most regular point and shoot digital cameras in the $100 dollars and up price range come with Macro. You can usually find macro as a button or setting on your camera that looks like a small flower. Find out if your camera has it and how to turn it on. Now you can get within about an inch or two of your subject and still create a focused image. If you don't like what your camera has decided to focus on, release the shutter button and try again.
6. Angles Make It Interesting
While it makes perfect sense to shoot a food picture at the angle from which you see it before you eat it, trying out different angles can create cool and unexpected results. Try taking each of your pictures from three different angles. Maybe one from the top, one from the level of the food, spin the plate around and go from the side. It's hard to say what's going to look good while you're doing it, and you never really know till you see it on a computer screen anyway so it's better to overshoot and have too many pictures than too few and not like them. A $20 investment in a memory card will allow you to overshoot by hundreds of high resolution images.
5. Sunlight Is The Best Light
When you get right down to it, there is no greater source of light than that which powers the universe. Use it. Be aware that objects in your environment, like colored umbrellas, will tint your images their color. Also, direct sunlight at high noon on a shiny or reflective food may not be the best idea. Whether it's overcast, dusk, or a bright sunny day, any food that looks good looks better in natural light. And it's okay to use your flash outside too.
4. Bokeh Is That Cool Blur Effect
Bokeh is the fancy word for cool blurry stuff in the background of your picture. You can easily create bokeh by shooting in macro mode with focus locked on the foreground. When you take a picture, think about what angle you're looking at your subject, what's behind it, and what's behind that. The blurry stuff is as much a part of your image as what's in focus.
3.Image Optimizing
Despite all the steps we take to make a clean image while shooting, many pictures benefit from optimizing tweaks. This goes back to the days of film when technical work in the dark room brought the best out of a picture. Image optimizing for technical acuity can make all the difference. Most digital cameras come with simple software to help you do this. You can also buy Photoshop or use the excellent program GIMP for free to do the same thing. Some of the variables to manipulate are color balance, levels, shadow/highlight, and sharpness.
2. File Size, Compression, and Degradation
If you're making images to post online keep in mind the role of compression. This is the process pictures go through when you upload them somewhere. It usually results in at least some color loss, but can also affect resolution, and image quality. You may want to resize your images before you upload them and save them in as high of quality .jpeg file format as possible at a few hundred kilobytes size. This will help them look as good as they can while still loading fast.
1. Keep Shooting
If at first your pictures suck as much as ours did, don't give up. Keep shooting. Do what works for you. Make up your own rules. Have fun.


